DIY: How to Fix a Creaking Wood Floor
Posted by Aaron Schaalma
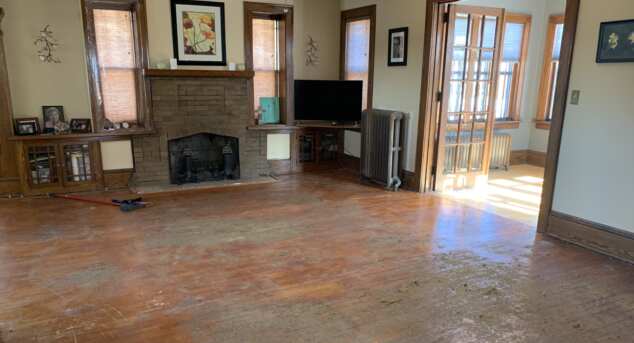
How many times have you gone into an old house that has squeaky wooden floors? Is that happening in your house too? You might think there isn't much you can do to remedy the creaks and squeaks but there is! Here are a few things that will help you fix your squeaky floor without spending a lot of money, or ripping out the boards.
One possibility when your floor squeaks is that the sub-floor wasn't fastened down properly. Here are the tools you'll need to do this job:
1. Drill
2. Drill bits
3. Screws (generally 2" in length but just check to make sure it won't go through the floor)
Now you're ready to take care of the squeaky sub-floor. First you want to have someone stand on the spot where the floor squeaks and then go down to the basement and stand under the area where the floor is making noise. Then have the person standing on the floor lightly bounce on the floor. If the sub-floor is lose you should be able to see it move. If it does, what you want to do is take a drill and pre-drill a hole in the joist, angling into the sub-floor, then screw in the screw into the hole you drilled. This will draw the sub-floor tight to the top of the joist.
Another thing you can do is wedge a shim in the area where the sub-floor is loose. The supplies you'll need for this job are:
1. Hammer
2. Wood shims
3. Wood glue
So what you do now is find the loose sub-floor in the basement how I mentioned up above, take some wood glue and apply it to the shim, then take the shim and place it between the sub-floor and joist, then take your hammer and tap the shim in place until the shim is tight. Once the glue sets up it'll join the sub-floor and joist together.
Another easy thing that you can do if your boards seem to squeak is to use WD-40 to stop the boards from rubbing together causing the squeak in your hardwood floor. First what you want to do is tape off the areas with painters tape leaving the joint between the boards open so you can spray some WD-40 in the crack, this will lubricate the tongue and groove of the hardwood boards lessening the squeaking.
Now if the sub-floor isn't the problem but the hardwood floor is the one causing the squeaks, due to the fact that the fasteners are lose, there are a couple of things you can do to remedy the problem. You go back down to the basement and the supplies you'll need are:
1. Drill
2. Screws (about 1.25" in length)
Find the area with the squeak, now take the drill with a screw and screw from the sub-floor up into the bottom of the wood floor. This will fasten down the loose hardwood boards helping to alleviate the squeak.
If none of these things seem to take care of the squeaky floor it may be time to call in a professional hardwood floor company to take care of the problem. There are a few more complicated things and tricks that a professional will know what to do to eliminate or reduce the squeakiness.
Hope all this info on how to take care of squeaky old hardwood floors helps. Happy squeaking! (And fixing!)