Foundation Impacts Wood Flooring Installation | Neenah, WI
Posted by Aaron Schaalma
What's the most important part of your home?
It's the part you can't see: the foundation.
Without a good foundation, anything built on top of it will quickly deteriorate.
Same goes for wood flooring. Without a firm foundation, even the most beautiful wood flooring will quickly buckle, sag, and become uneven.
Because foundation is essential to enjoying a wood floor for a lifetime, securing the subfloor is the first thing we do when installing wood flooring.
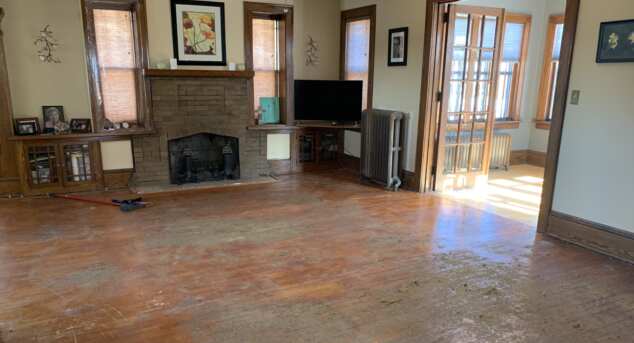
Preparing the subfloor
Each installation poses its own unique challenge. As an experienced NWFA certified installer, we check for many things before we install the wood.
First, we walk the subfloor and note any squeaks or loose sections. If we don't detect any, then the subfloor was properly installed. But we do find any issues, we locate the cause and screw the subfloor into the floor joist.
Second, we need to make sure the subfloor moisture content is within a 2% range of the wood flooring. If the moisture content is not within an average of 2%, then the flooring shouldn't be installed. If the subfloor moisture content is too high, it will affect many aspects of the flooring. In that case, installation will have to wait until the wood and subfloor meet elquilibrium. Sometimes it can take weeks, depending on the wood species. It's best to let it naturally equalize to avoid making it too dry inside.

Checking the moisture content of the subfloor
Third, we make sure the subfloor is flat within the NWFA's set range. Once we determine the high and low spots of the floor, we either shim the low spots up (if they are bad) or sand the high spots down.

Sanding the subfloor to flatten high spots
Fourth, after flattening the subfloor, we apply a liquid moisture retarder because we are doing a glue-assisted wood flooring installation. Scroll down for further detail of this installation process.

Applying the moisture barrier prior to installation
Installing the wood floor
After the liquid moisture barrier has dried, we can now start the installation of this 5" Maple wood flooring. The wider the board, the harder it is to just use cleats to fasten it to the floor. To support the cleats, at every 12"-16" space, we put a bead of glue on the floor and then install the wood like we normally would using cleats. This ensures the wood flooring is completely fastened to the subfloor.

Installing hardwood flooring with glue-assisted fasteners
Sanding for that smooth, fine finish
Now that we are all done with installation, we move on to sanding. Now, sanding may not seem important, but it is. Getting maple flooring to look nice without any visible scratches from a standing position can be very difficult. We have perfected our method to give you the very finest results.
On any new floors there will always be some small milling imperfections that will need to be filled. We fill the imperfections in the wood and then sand it off.
After the floor is sanded and stained, it's time to apply the finish coats.
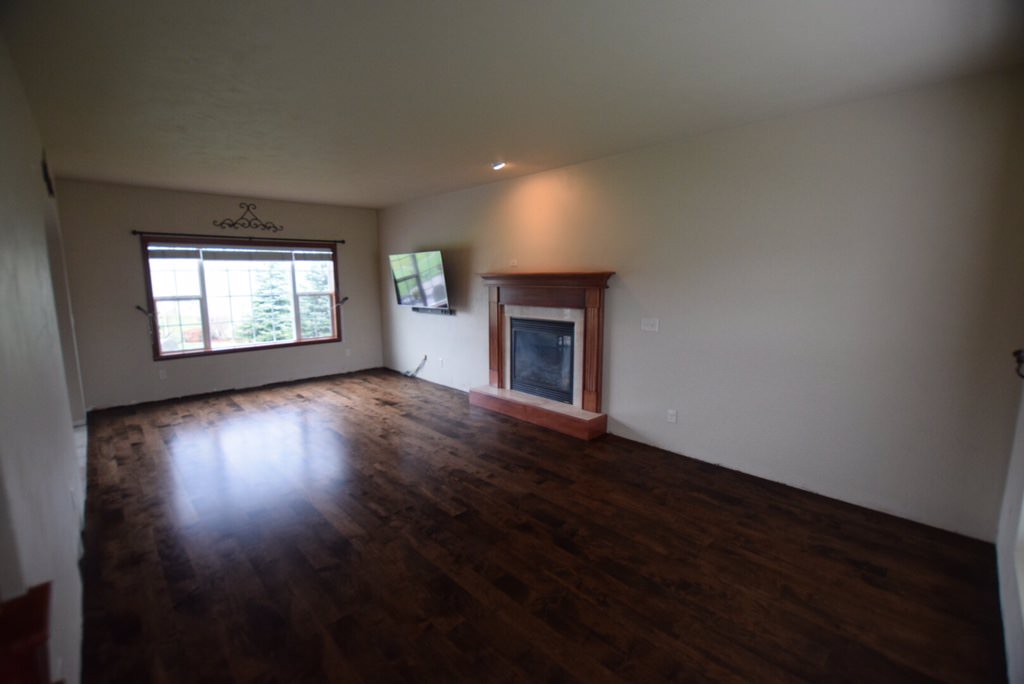
Finished wood floor
Once the finish has completely dried, you can see how beautiful this wood floor looks.
To have a wood floor last a lifetime, a lot of preparation goes into it. Anyone who says differently doesn't have a good foundation.