From Wrecked to Wonderful: A Hardwood Floor Case Study
Posted by Aaron Schaalma

I would like to share with everyone one of my past projects and walk you through it to show you how I took a beat up floor from wrecked to wonderful.
The Hardwood Floor Dilemma
A client came to me with a dilemma: they bought house that had a pre-refinished floor that was elevated higher than the existing floor. They were going to remove carpeting from a conjoining room and once they removed the carpet, the pre-finished floor would be elevated over the conjoining room’s floor. They wanted the pre-finished floor to be removed so that both rooms’ floors were at the same height.
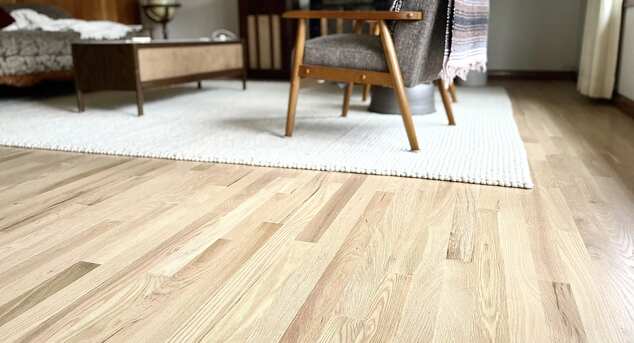
The original plan was to remove the pre-finished floor, then refinish the existing Maple floors that rested underneath.
The two pictures below show the conjoining rooms with the carpet in tact. Once the carpet was removed, there was a height difference between the floors.


The Challenge
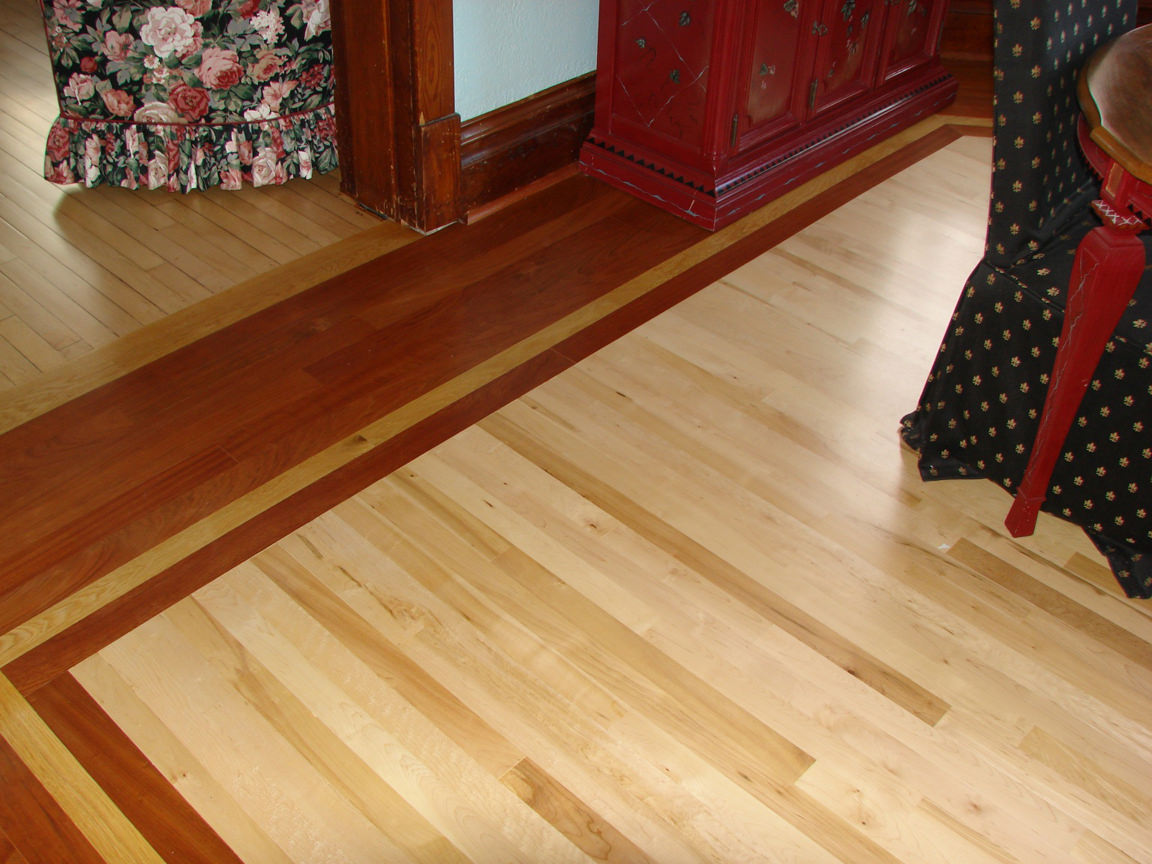
Once we started removing the pre-finished floor, the staples that held it in place to the Maple floor underneath it damaged the Maple floor, rending it unusable. The staples had caused holes in the floor that were beyond repair, and because of the sheer number of staples holes, I felt it was best to completely remove all the Maple floor down to the subfloor and start new. Because we had to remove all the flooring we decided that it would be pretty cool to do a different floor. So what I came up with for them was a 25" boarder consisting of Brazilian cherry and White Oak.
The field (center) is 50% Maple and 50% Birds Eye Maple. It was quite a challenge laying out the floor because the room was off by 2" and I had to try and get it close to the three other existing conjoining floors.

The Outcome
After these challenges, I got the floor all laid out and installed. I then began the process of finishing the floor. To sand a floor like this it takes a bit longer because of the boarder, as well as that this particular room has a lot of natural light, which shows any imperfections in the sanding.
Once I had the floor sanded, I decided to make the floor really pop and I sealed the border with a sealer that brings out more color. The Maple field I sealed with a clear sealer keeping the Maple very light. I then finished the floor with three coats of finish to ensure the floor stays looking wonderful and is protected from damage for a long time.


If you have any hardwood flooring repair or refinishing needs, please call me for a a free quote at (920) 279-7871. Please also refer to my website or blog for more examples of my work!