Kitchen Transformation with Walnut Floor in Neenah
Posted by Aaron Schaalma
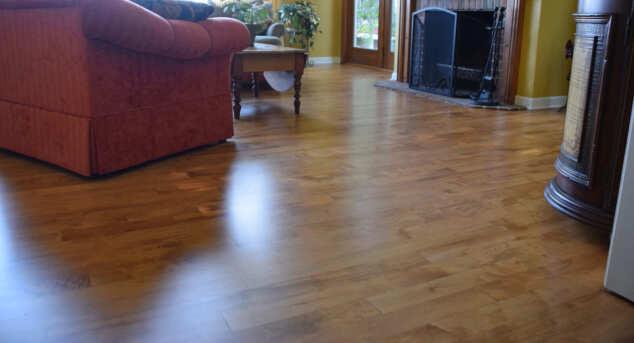
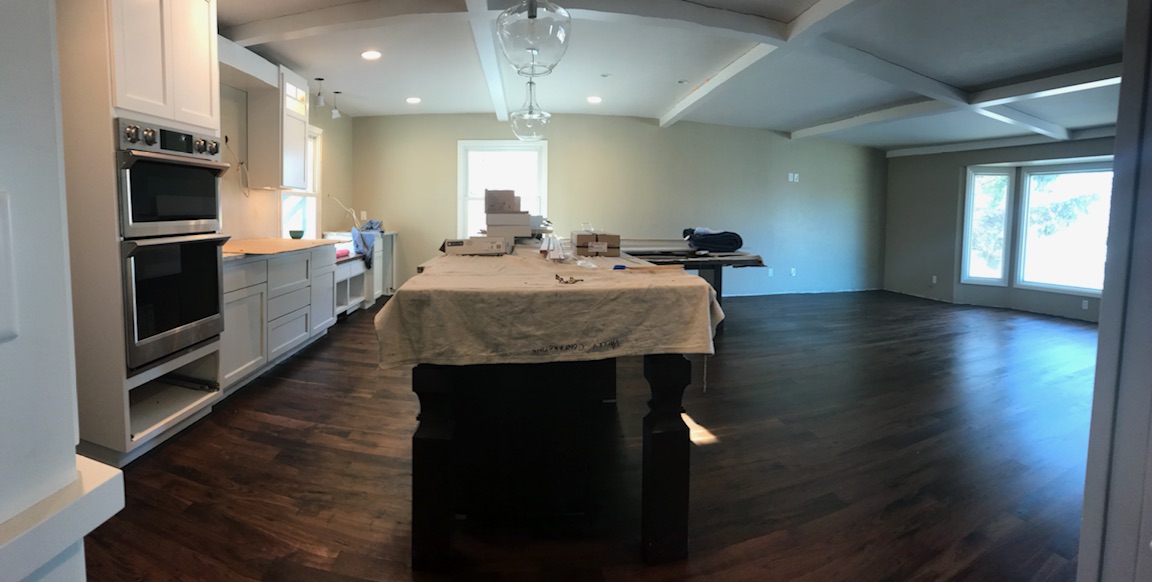
Because there are so many different species of wood to choose from, it is not too often that we get a call to install a walnut floor. So, we were excited when we met with our client in Neenah, and he brought up that he wanted walnut floors in his kitchen space. He had looked at pictures of walnut floors, and then fell in love with them when he saw them firsthand after attending the Parade of Homes in the Fox Valley. I was really excited to install a walnut floor as it is one of my favorite wood species to work with due to its magnificent rich brown tones. Every wood species has its own pros and cons, and we take the time to help educate our clients so that they can make an informed decision and then choose a floor that is going to perform, look, and feel the way they want. During our initial consultation, we talked with our client about what they were looking for in the finished product, and were then able to help them choose the finish that would best showcase their new walnut floor. After that, it was time to get to work.
PREPARATION
Before we began the installation, we realized that the existing sub-floor needed to be strengthened to provide a solid base for our flooring. Per our request an additional 3/8" thick plywood was added to the sub-floor to strengthen it. We then rolled on 1 coat of PU280 moisture barrier which provides a layer of protection between the sub-floor and the finished product. This prevents any potential moisture from getting into the bottom side of the walnut flooring, and allows us to glue assist the walnut flooring to the sub-floor.
INSTALLATION
Now that we finished prepping the sub-floor, and the wood acclimated to the temperature and humidity of the house, it was time to start the installation process. We chose to nail and glue assist the flooring. The glue assist makes the floor sound much more solid, due to the fact that the glue keeps the flooring in direct contact with the sub-floor.

INSTALLING TREADS
When installing stairs there is more than meets the eye. First we removed the existing treads and measured the rise and run of the stringers. The rise had changed because of the additional sub-floor added up above and poor framing. Once we figured out what each step needed to be shimmed up to, we installed the treads with an adhesive that will flex with the wood as it expands and contracts.

SANDING & FINISHING
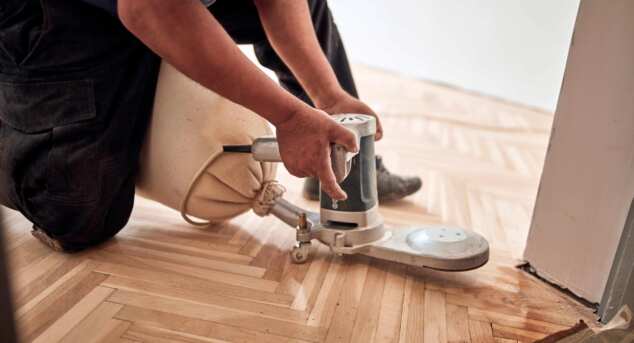
Now the floor has sat for a few weeks we are back to start the sanding process.
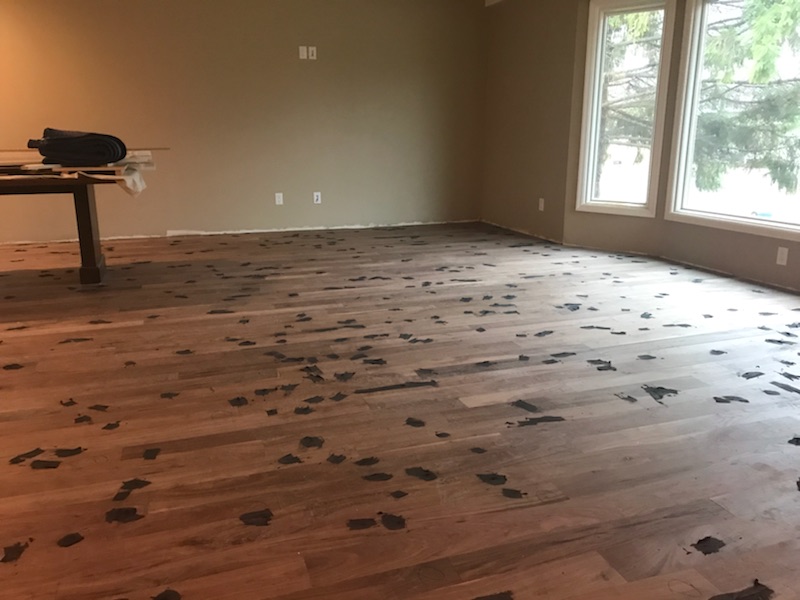
We started with a rough cut for the sanding to flatten the floor. After that, we filled the knots and other milling imperfections in the flooring, and then sanded off the filler with a medium grit. We continued to sand the floor, moving up to a finer grit with each new cut. Sanding is very crucial to any wood floor, but even more so when using a Rubio Monocoat finish, which is what our clients chose. With Rubio Monocoat, the finish actually penetrates into the wood fibers and bonds to the moleculer structure of the wood, instead of forming a top layer on the wood like most traditional finished do. Because of this, you arent walking on any top coat of finish, so the floor needs to be sanded to remove even the smallest of imperfections. After we have sanded the floor to where we know it will perform well (different species of woods need to be sanded differently), we water-pop the floor to open the grain up so the Rubio Monocoat finish can penetrate into the wood. Once the wood has dried we applied one coat of Rubio Monocoat finish. Most of the time we only need to do one coat of Rubio Monocoat like the name states mono meaning one. However, with walnut flooring the grain is more open, so it requires two coats of Rubio, otherwise the floor looks "thirsty" and isn't protected because the grain is still open. We then waited twelve hours after the first coat before we came back to apply the second and final coat of Rubio.
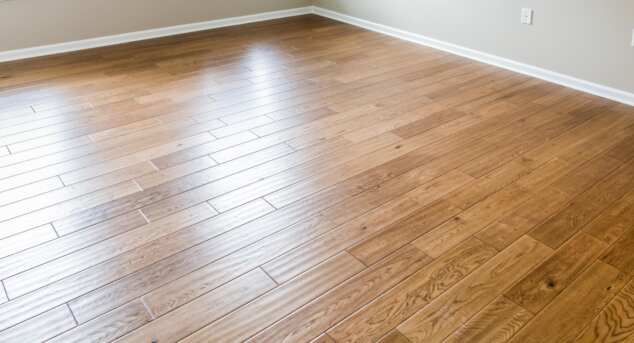
This job in Neenah is now completed and they just need to wait twenty-four hours before the carpenters can get back on the floor and finish up. This was an exciting project due to the species of wood, and the unique finish that showcased the finished product. Even more rewarding though, was the look of amazement on our clients face when they saw their finished product for the first time. For us, there is nothing more important than the customer experince, and we know that we can create a floor that takes your breath away. If you love the unique pattern in this walnut floor, we would love to hear from you. We would love to create a walnut floor for you, or help you to find the floor of your dreams.