A Stevens Point Transformation
Posted by Aaron Schaalma
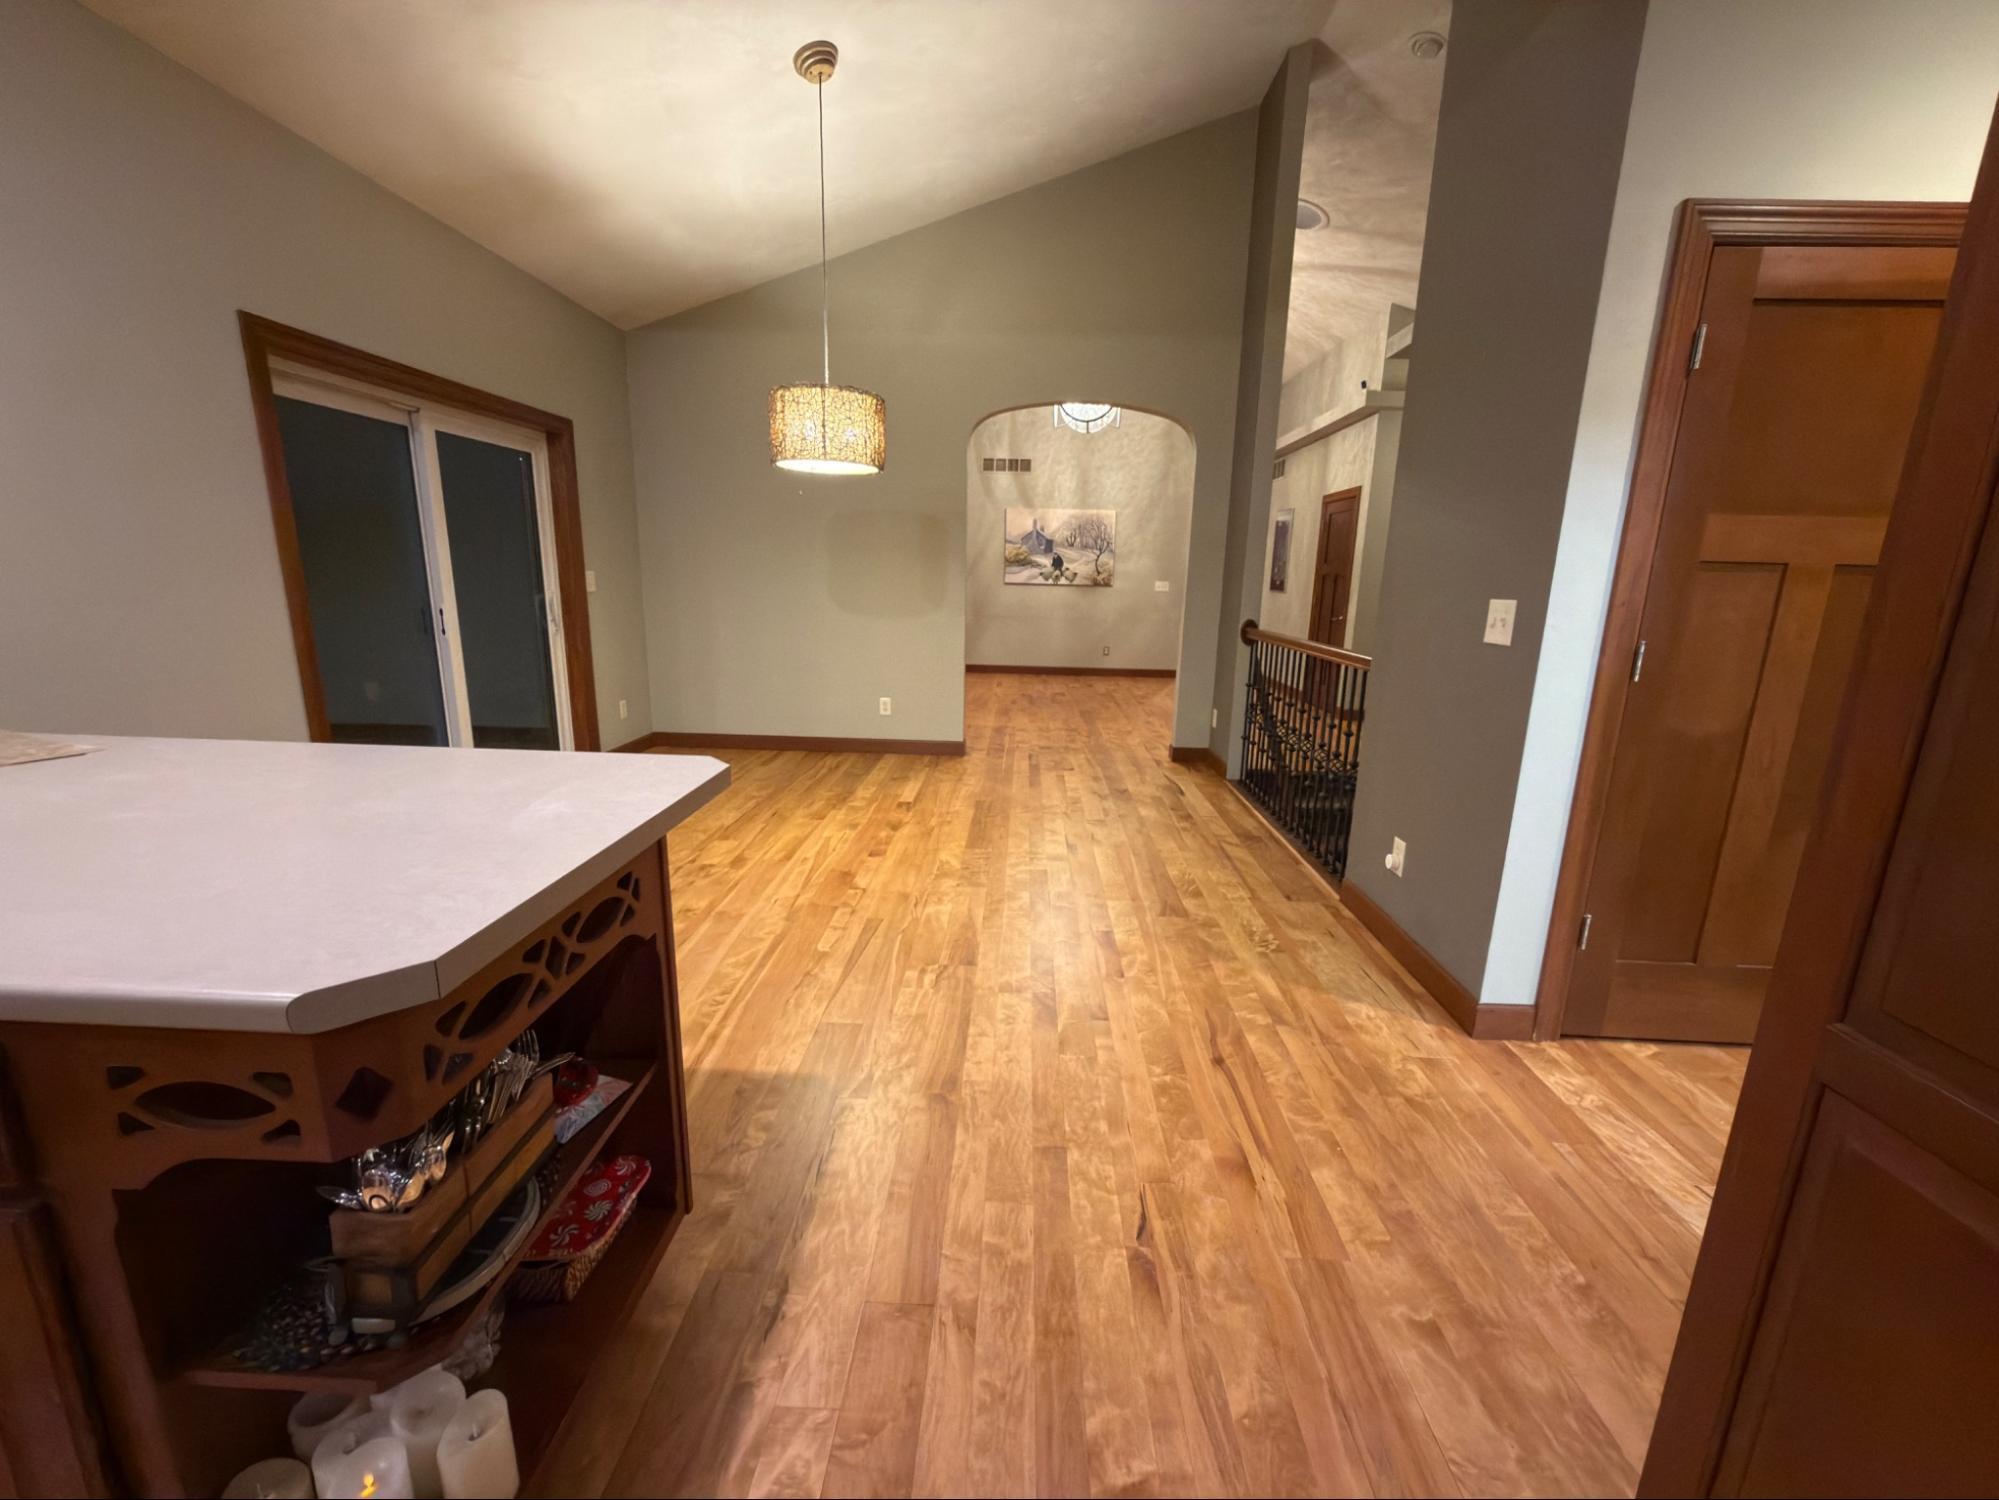
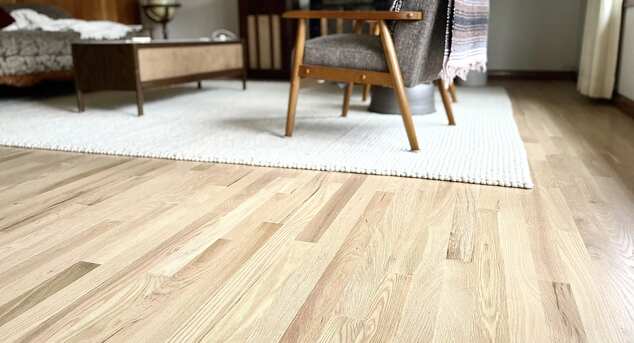
This isn't just a flooring project; it's a full home transformation we recently completed in Stevens Point, Wisconsin. What started as a mix of tile, carpet, and dated maple hardwood is now a seamless, beautiful expanse of custom-stained maple flooring that truly flows throughout the entire home.
The Challenge: A Patchwork of Flooring
The homeowners initially contacted us after finding us through Google and reading our reviews—always a great way to start! Their goal was to update the look and create a more cohesive, timeless feel.
The existing flooring was a visual patchwork:
- Tile at the front entry.
- Existing maple hardwood.
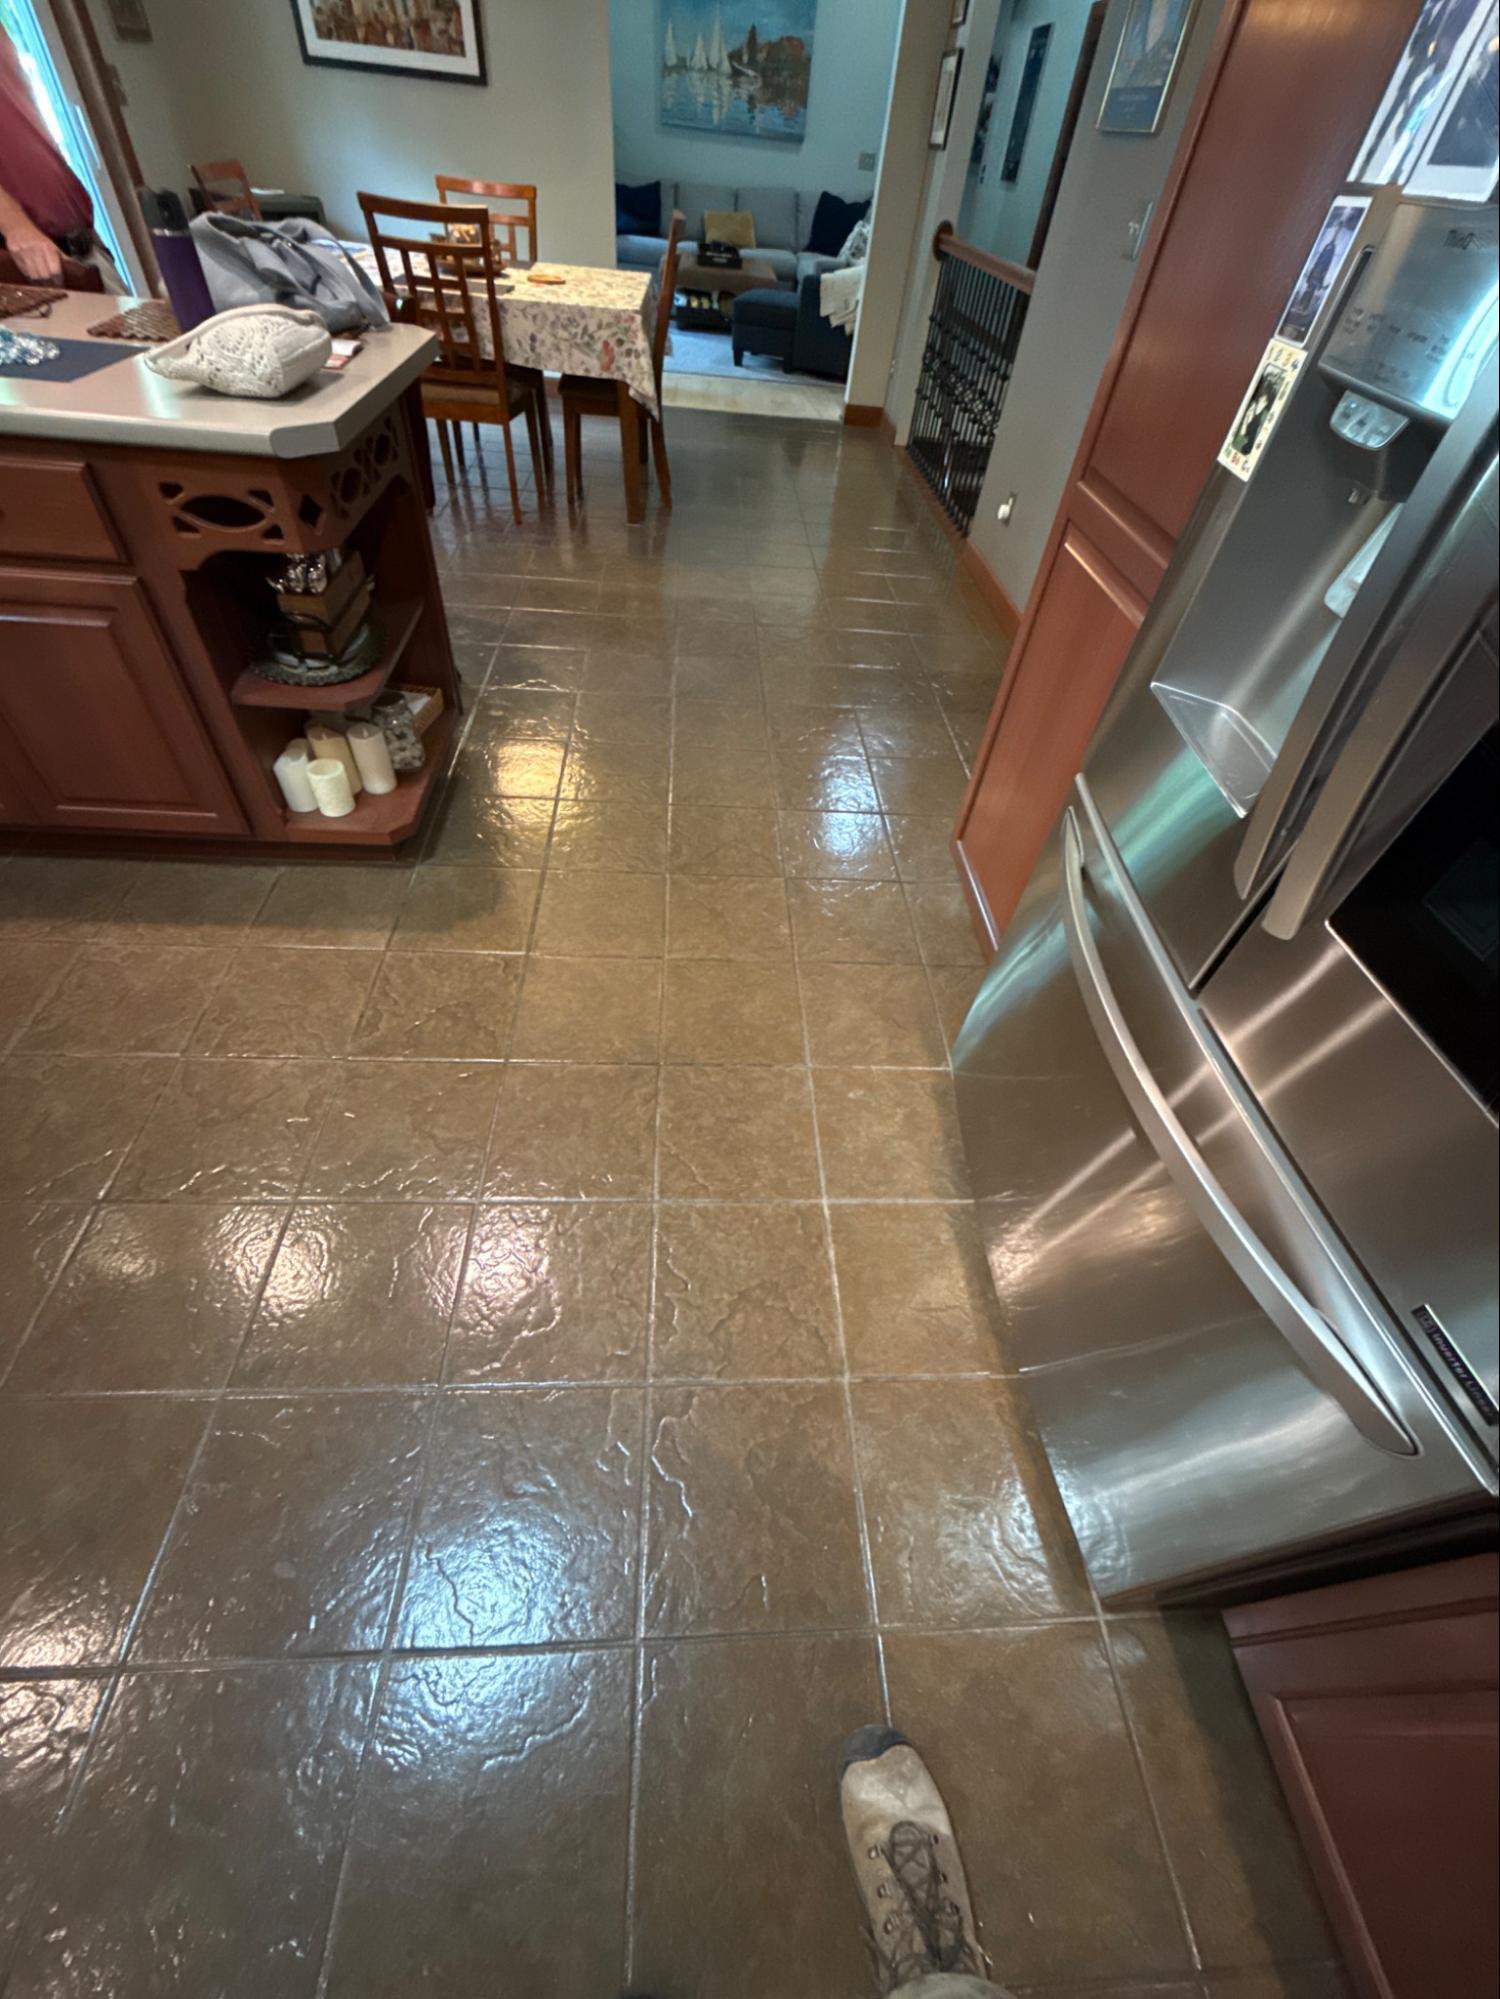
- More tile in the dining room and kitchen.
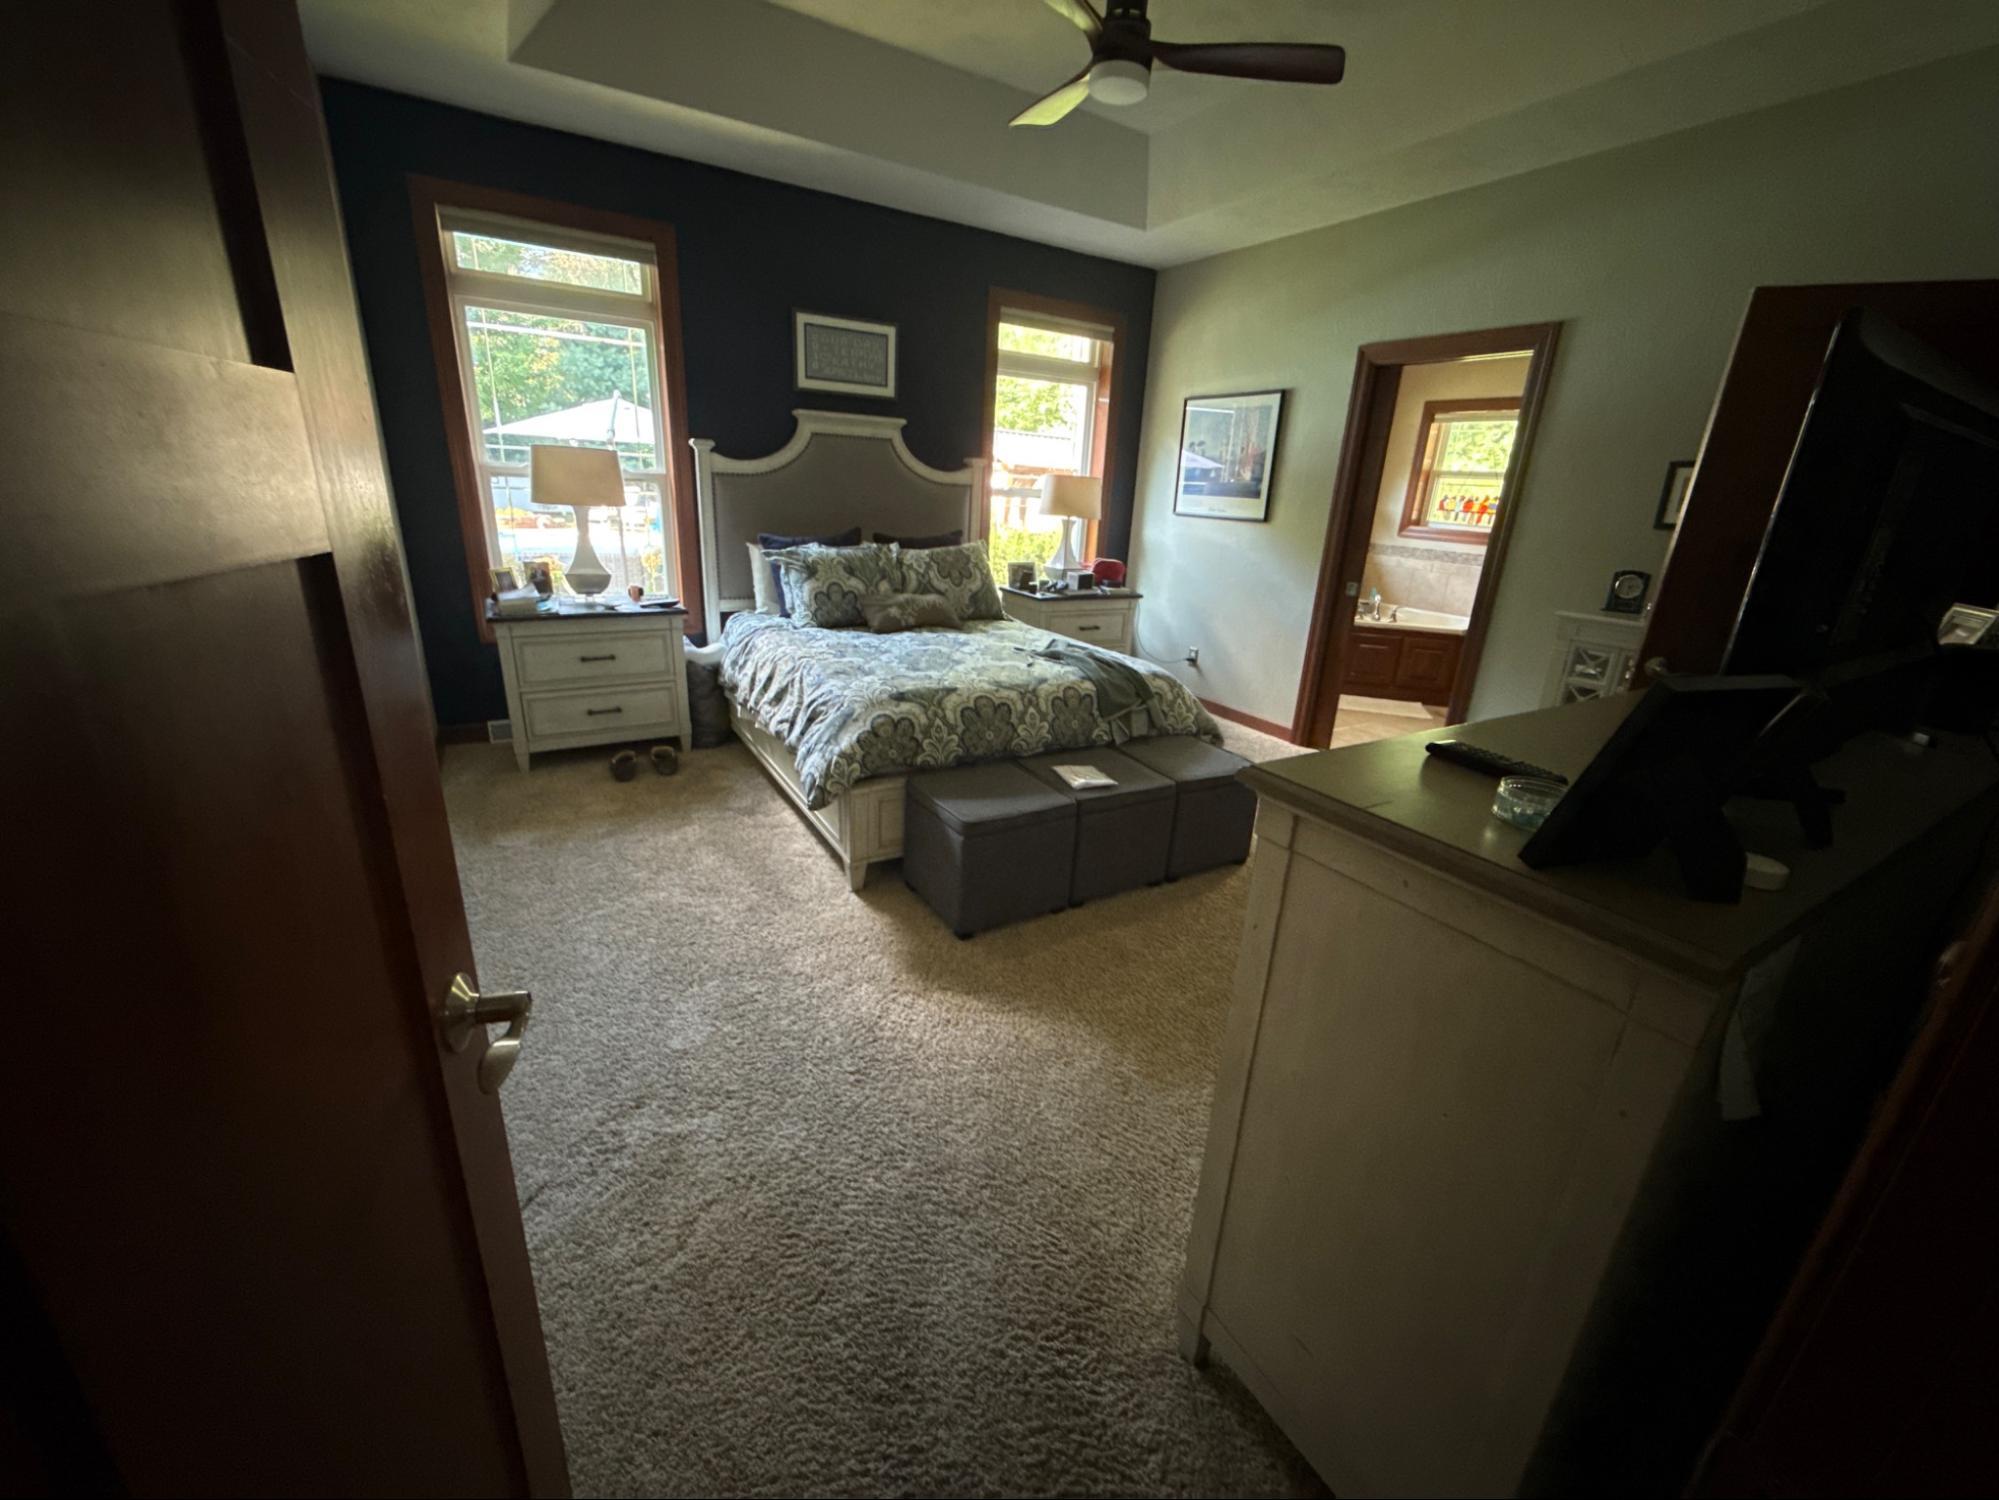
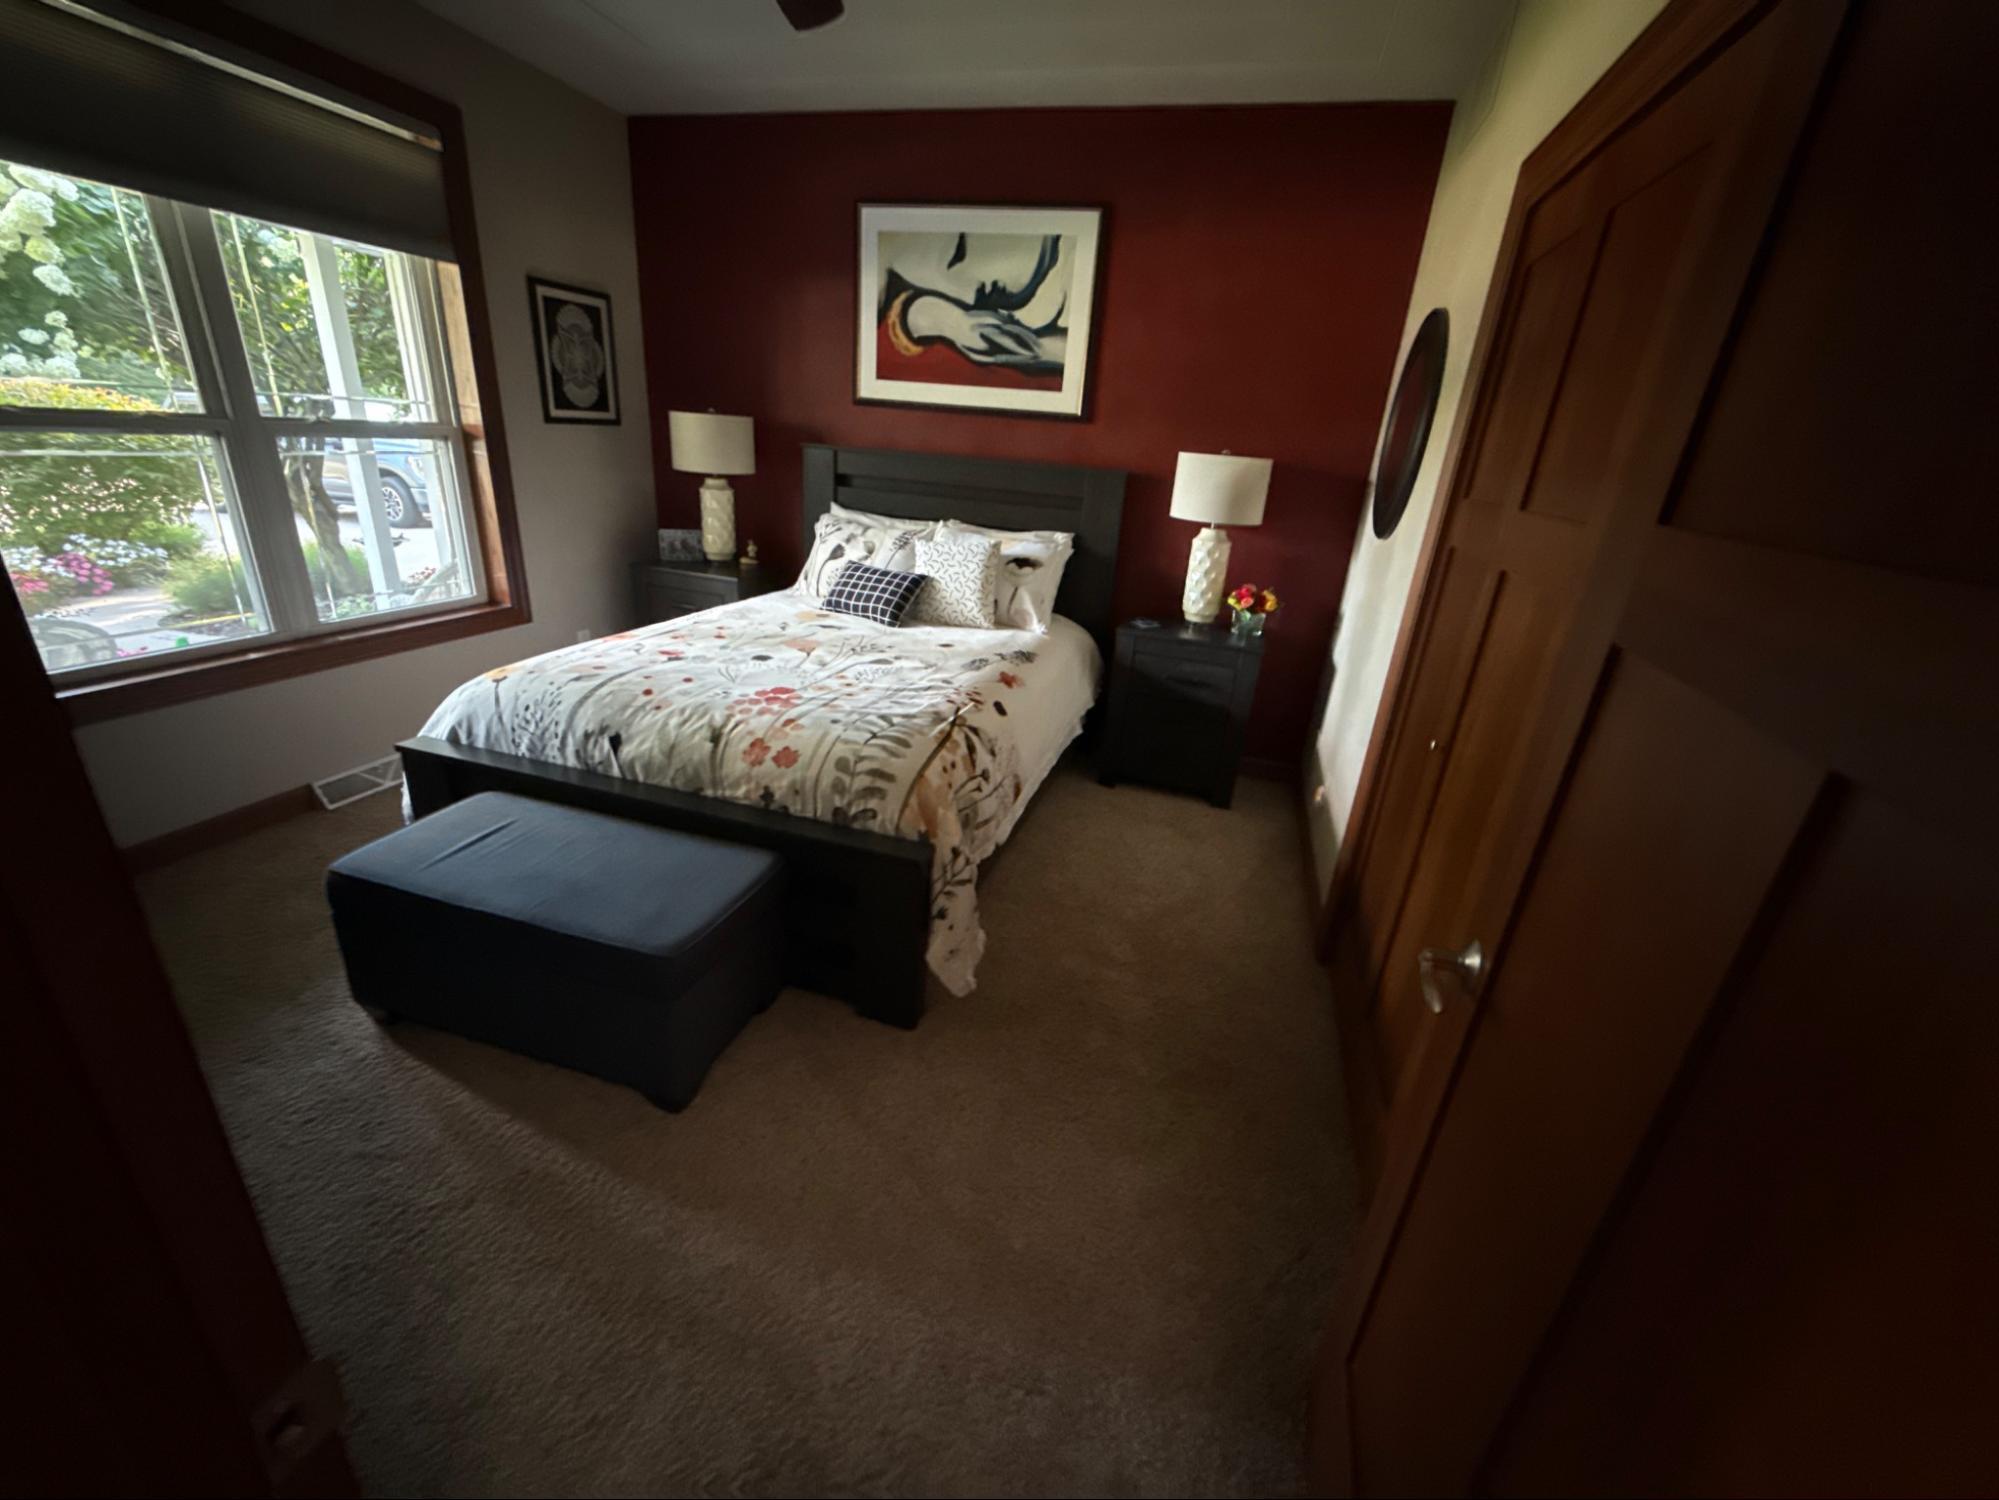
- Carpet in the bedrooms.
The plan was ambitious: Unify every space with new, custom hardwood. The homeowners even used AI-generated images to visualize the new look in their kitchen, which helped them decide to go all in.
The Process: From Demo to Dream Floor
We scheduled the project while the family was on vacation, which is the perfect scenario for a dust-heavy remodel. Before they left, we finalized a custom color sample, so everything was ready to go when we started.
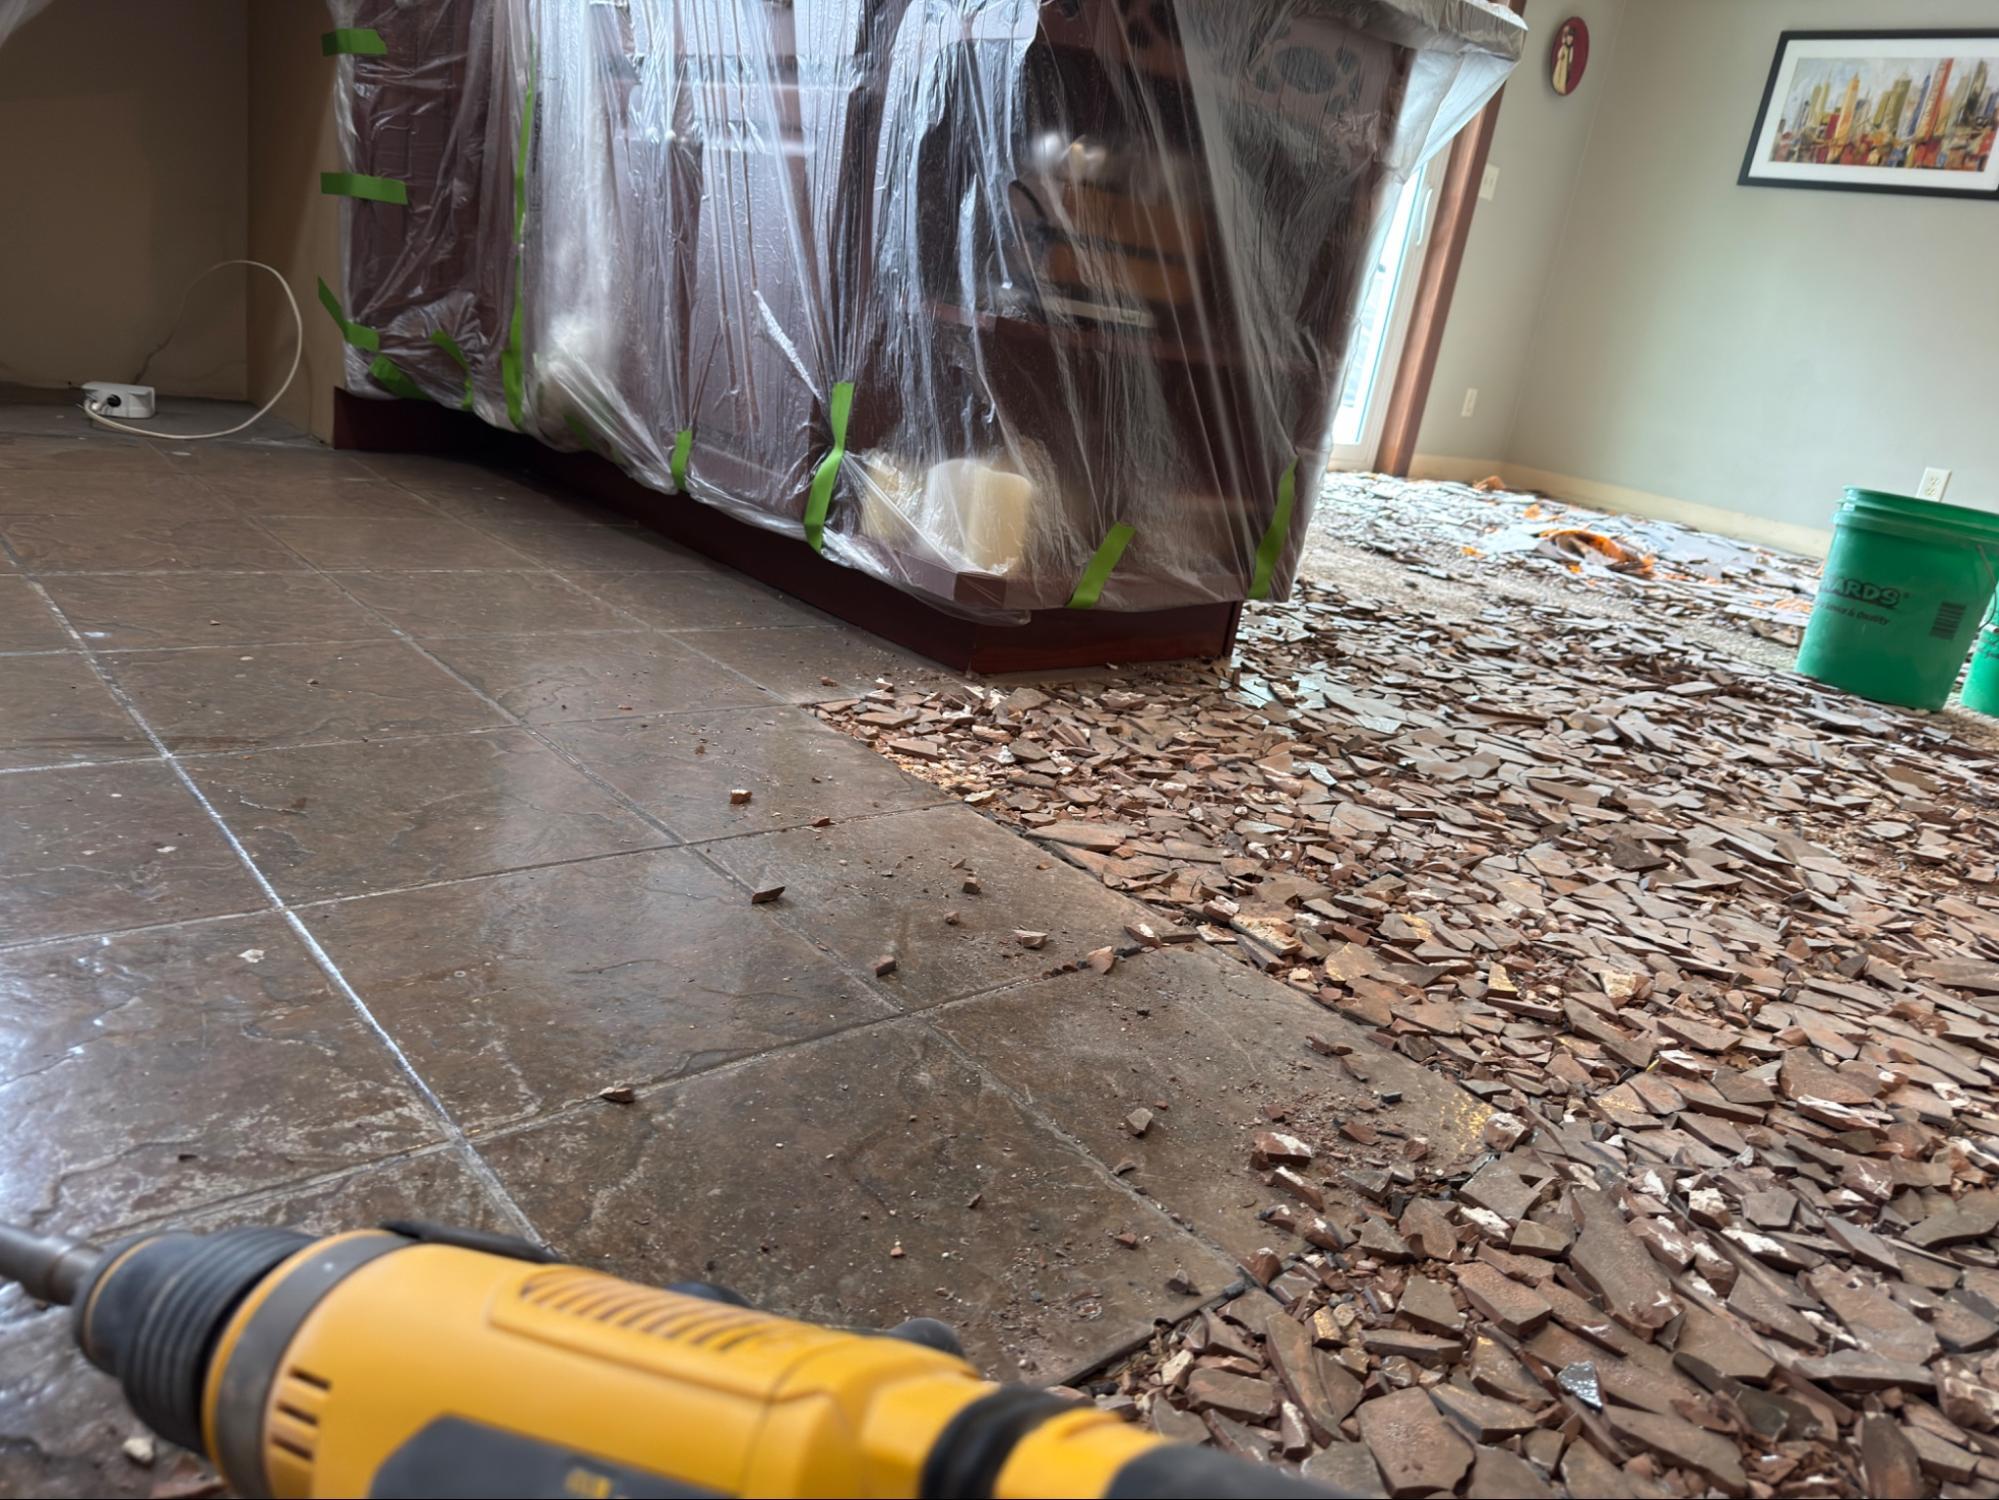
1. Intense Preparation and Demolition
The prep work on this job was extensive—and truly a majority of the work.
- Dust Control: We contained the work area by hanging plastic throughout the house to minimize dust travel.
- Tile Removal: We ripped out all the tile and then had to meticulously grind away all the thin-set adhesive left on the subfloor.
- Carpet & Baseboard: Next, the carpet came out of the three bedrooms, followed by removing all baseboards and shoe molding.
2. We Work Year-Round!
A note on timing: This project took place in the dead of a Wisconsin winter, complete with wind chills around -40 degrees!
We often get asked, "Do you install wood flooring in the winter?" The answer is a definitive YES. Wood flooring can be installed any time of year. We just ensure the wood is properly acclimated inside the house beforehand.
3. Installation and Lacing
The existing wood floor areas required a technique called "lacing." This involves removing small sections of the old flooring and weaving the new, random-width maple planks into the existing wood to create a seamless transition where walls once stood or where the old wood met tile. This is a skilled process that ensures a natural, unified look.
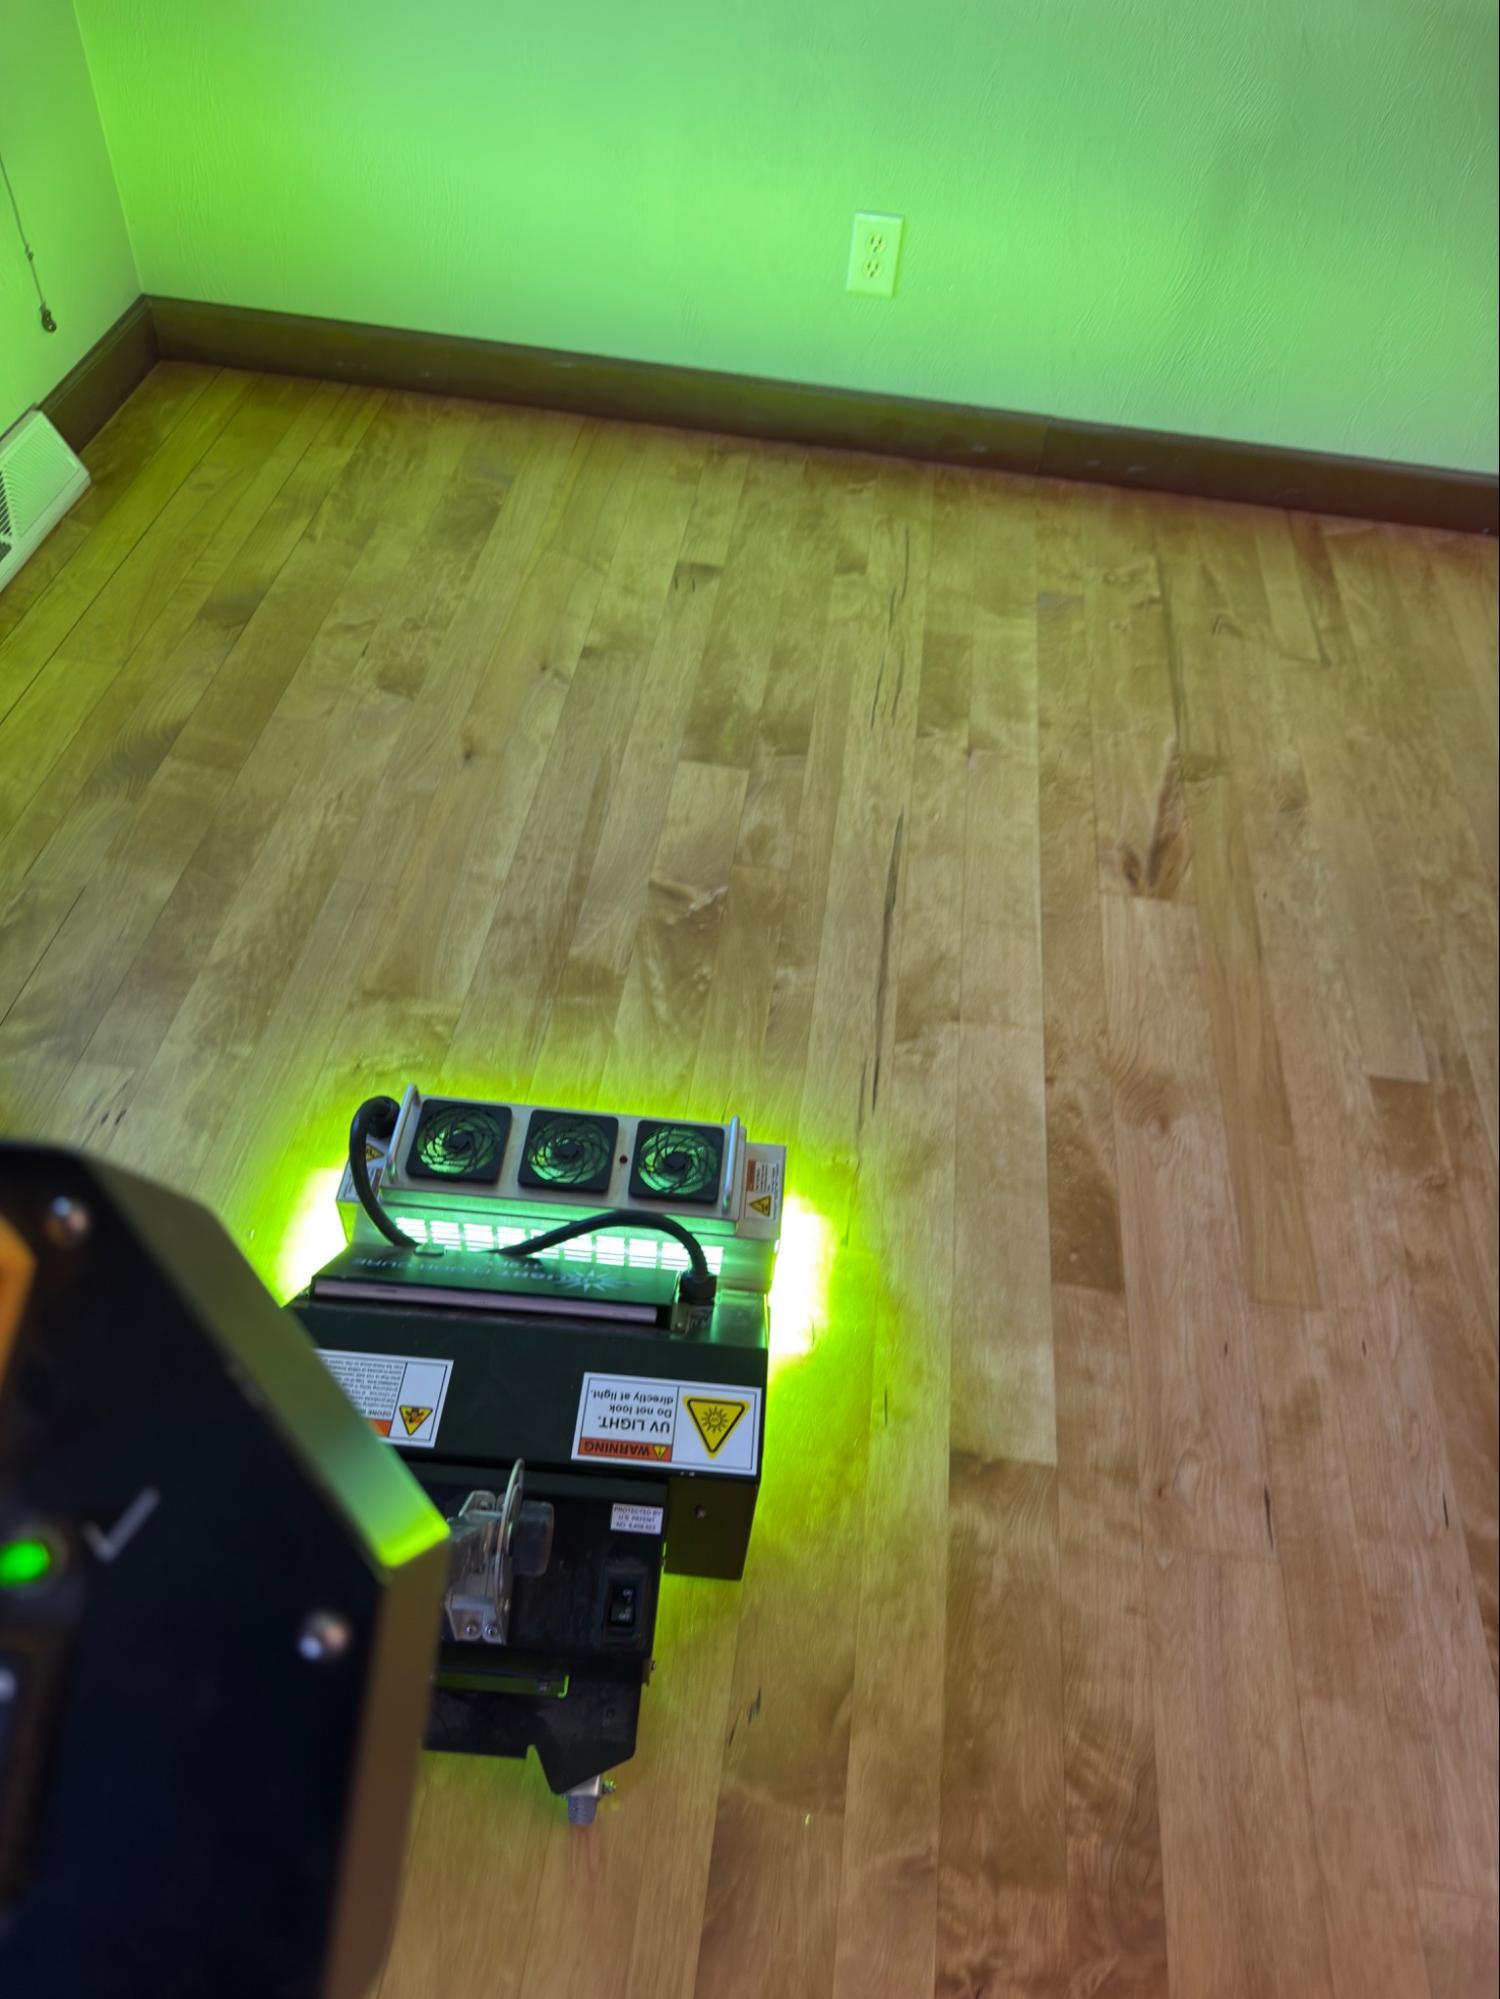
4. Custom Finishing
Once the random-width maple hardwood was fully installed, the real artistry began:
- Sanding: We sanded all spaces at once for a perfectly level surface.
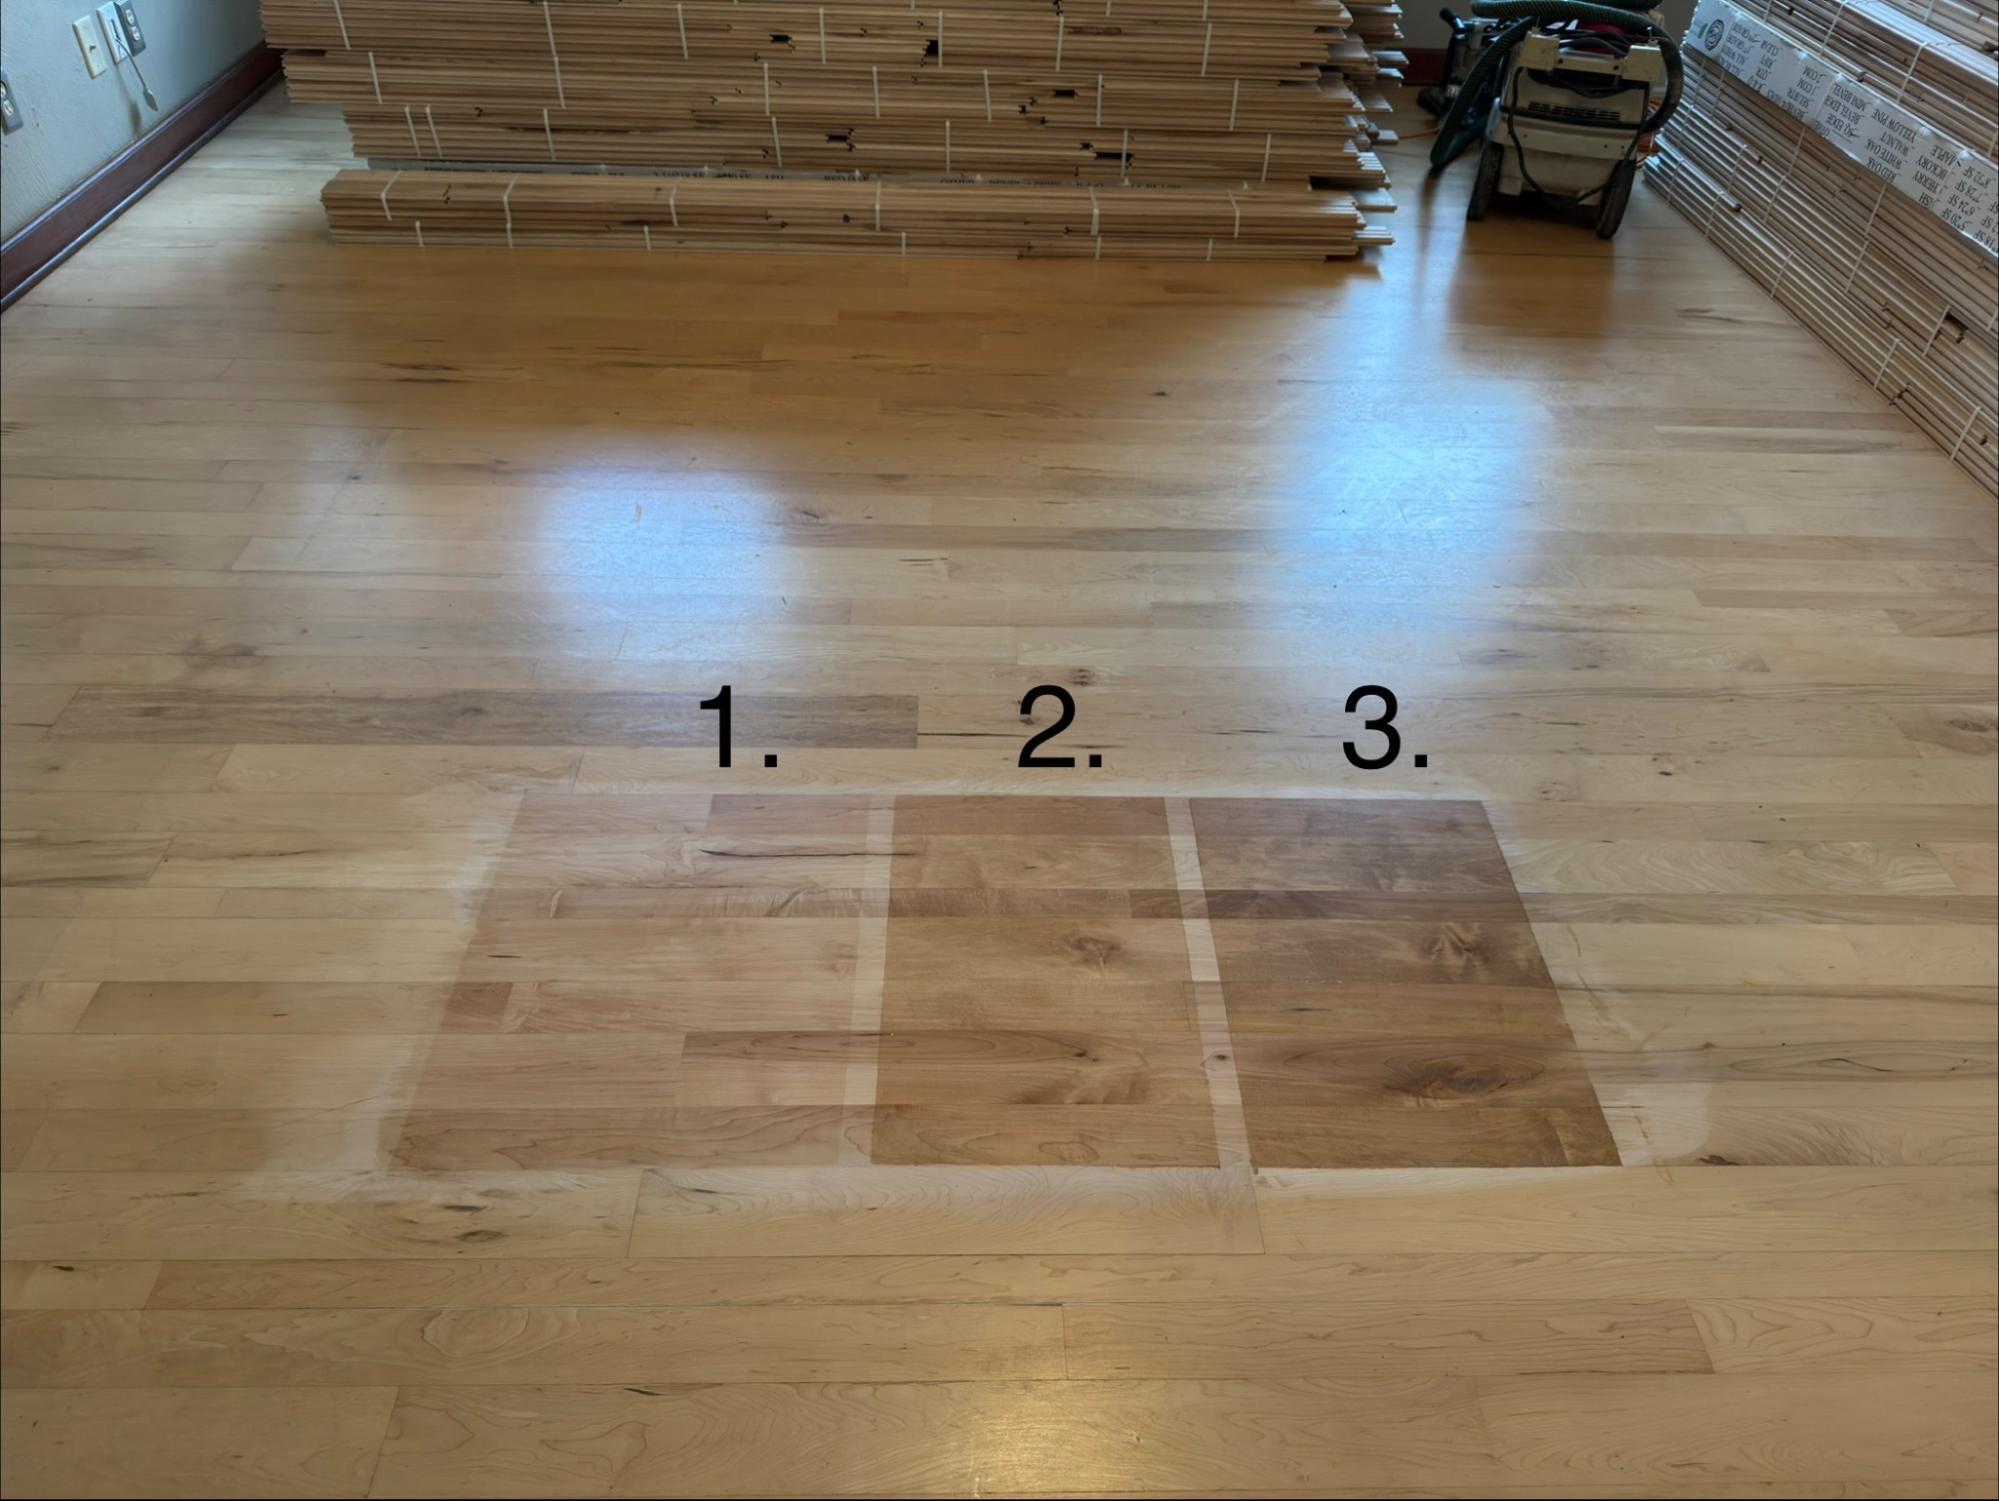
- Water Popping & Staining: To achieve the custom color the clients wanted—moving away from the dated, yellowed look of the old floor—we "wire popped" the grain to help the custom stain penetrate deeply. The resulting darker, timeless stain perfectly complements the home's existing dark trim.
- Sealing & Finishing: The floor received a penetrating sealer and then two coats of a durable UV finish.
5. The Final Touches
Before the final topcoat, we re-installed all the baseboards and shoe molding around the cabinets. We then pulled all the plastic, completed a thorough clean-up, and applied the final coat of UV finish.
The finishing touch was curing the floor finish to ensure it was tough and ready for the homeowners' return.
The Result
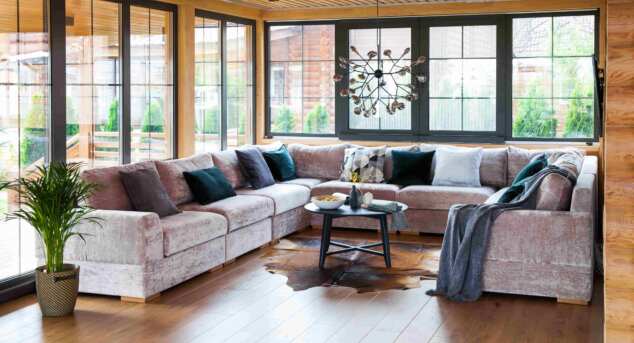
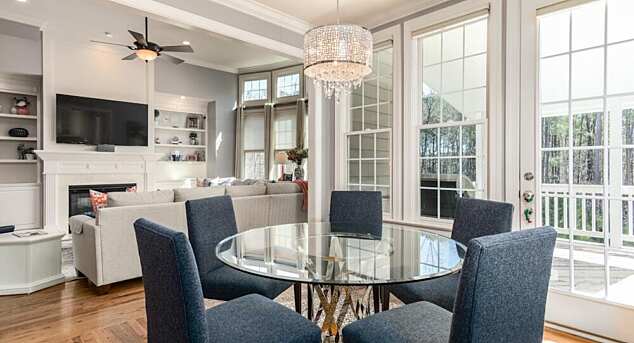
The transformation is dramatic. By removing the visual breaks of carpet and tile and replacing them with a single, continuous, custom-stained hardwood floor, the entire house now feels cohesive, timeless, and significantly larger.
This was a big project, but the final result—a brand-new, polished, easy-to-clean floor—was absolutely worth it.
Looking to update your home with beautiful, timeless hardwood floors? Contact us today for a consultation!